There’s something deeply satisfying about cracking into fluffy buttermilk waffles that are actually crispy on the outside. Not limp. Not dense. The kind that makes you wonder why you ever settled for pancake mix or the rubbery mess from that sad hotel buffet.
Tangy buttermilk is the secret here, but not just because it’s delicious. It reacts with baking soda to create tiny air pockets, which means every bite has this pillowy, almost cake-like texture without being heavy. The combination creates fluffy buttermilk waffles that are structurally sound enough to hold a ridiculous amount of pure maple syrup without turning into mush. This is the homemade waffle recipe that works every single time. If you are looking for an elevated flavored waffle, try our Easy Pumpkin Pecan Waffles Recipe: A Brunch Favorite
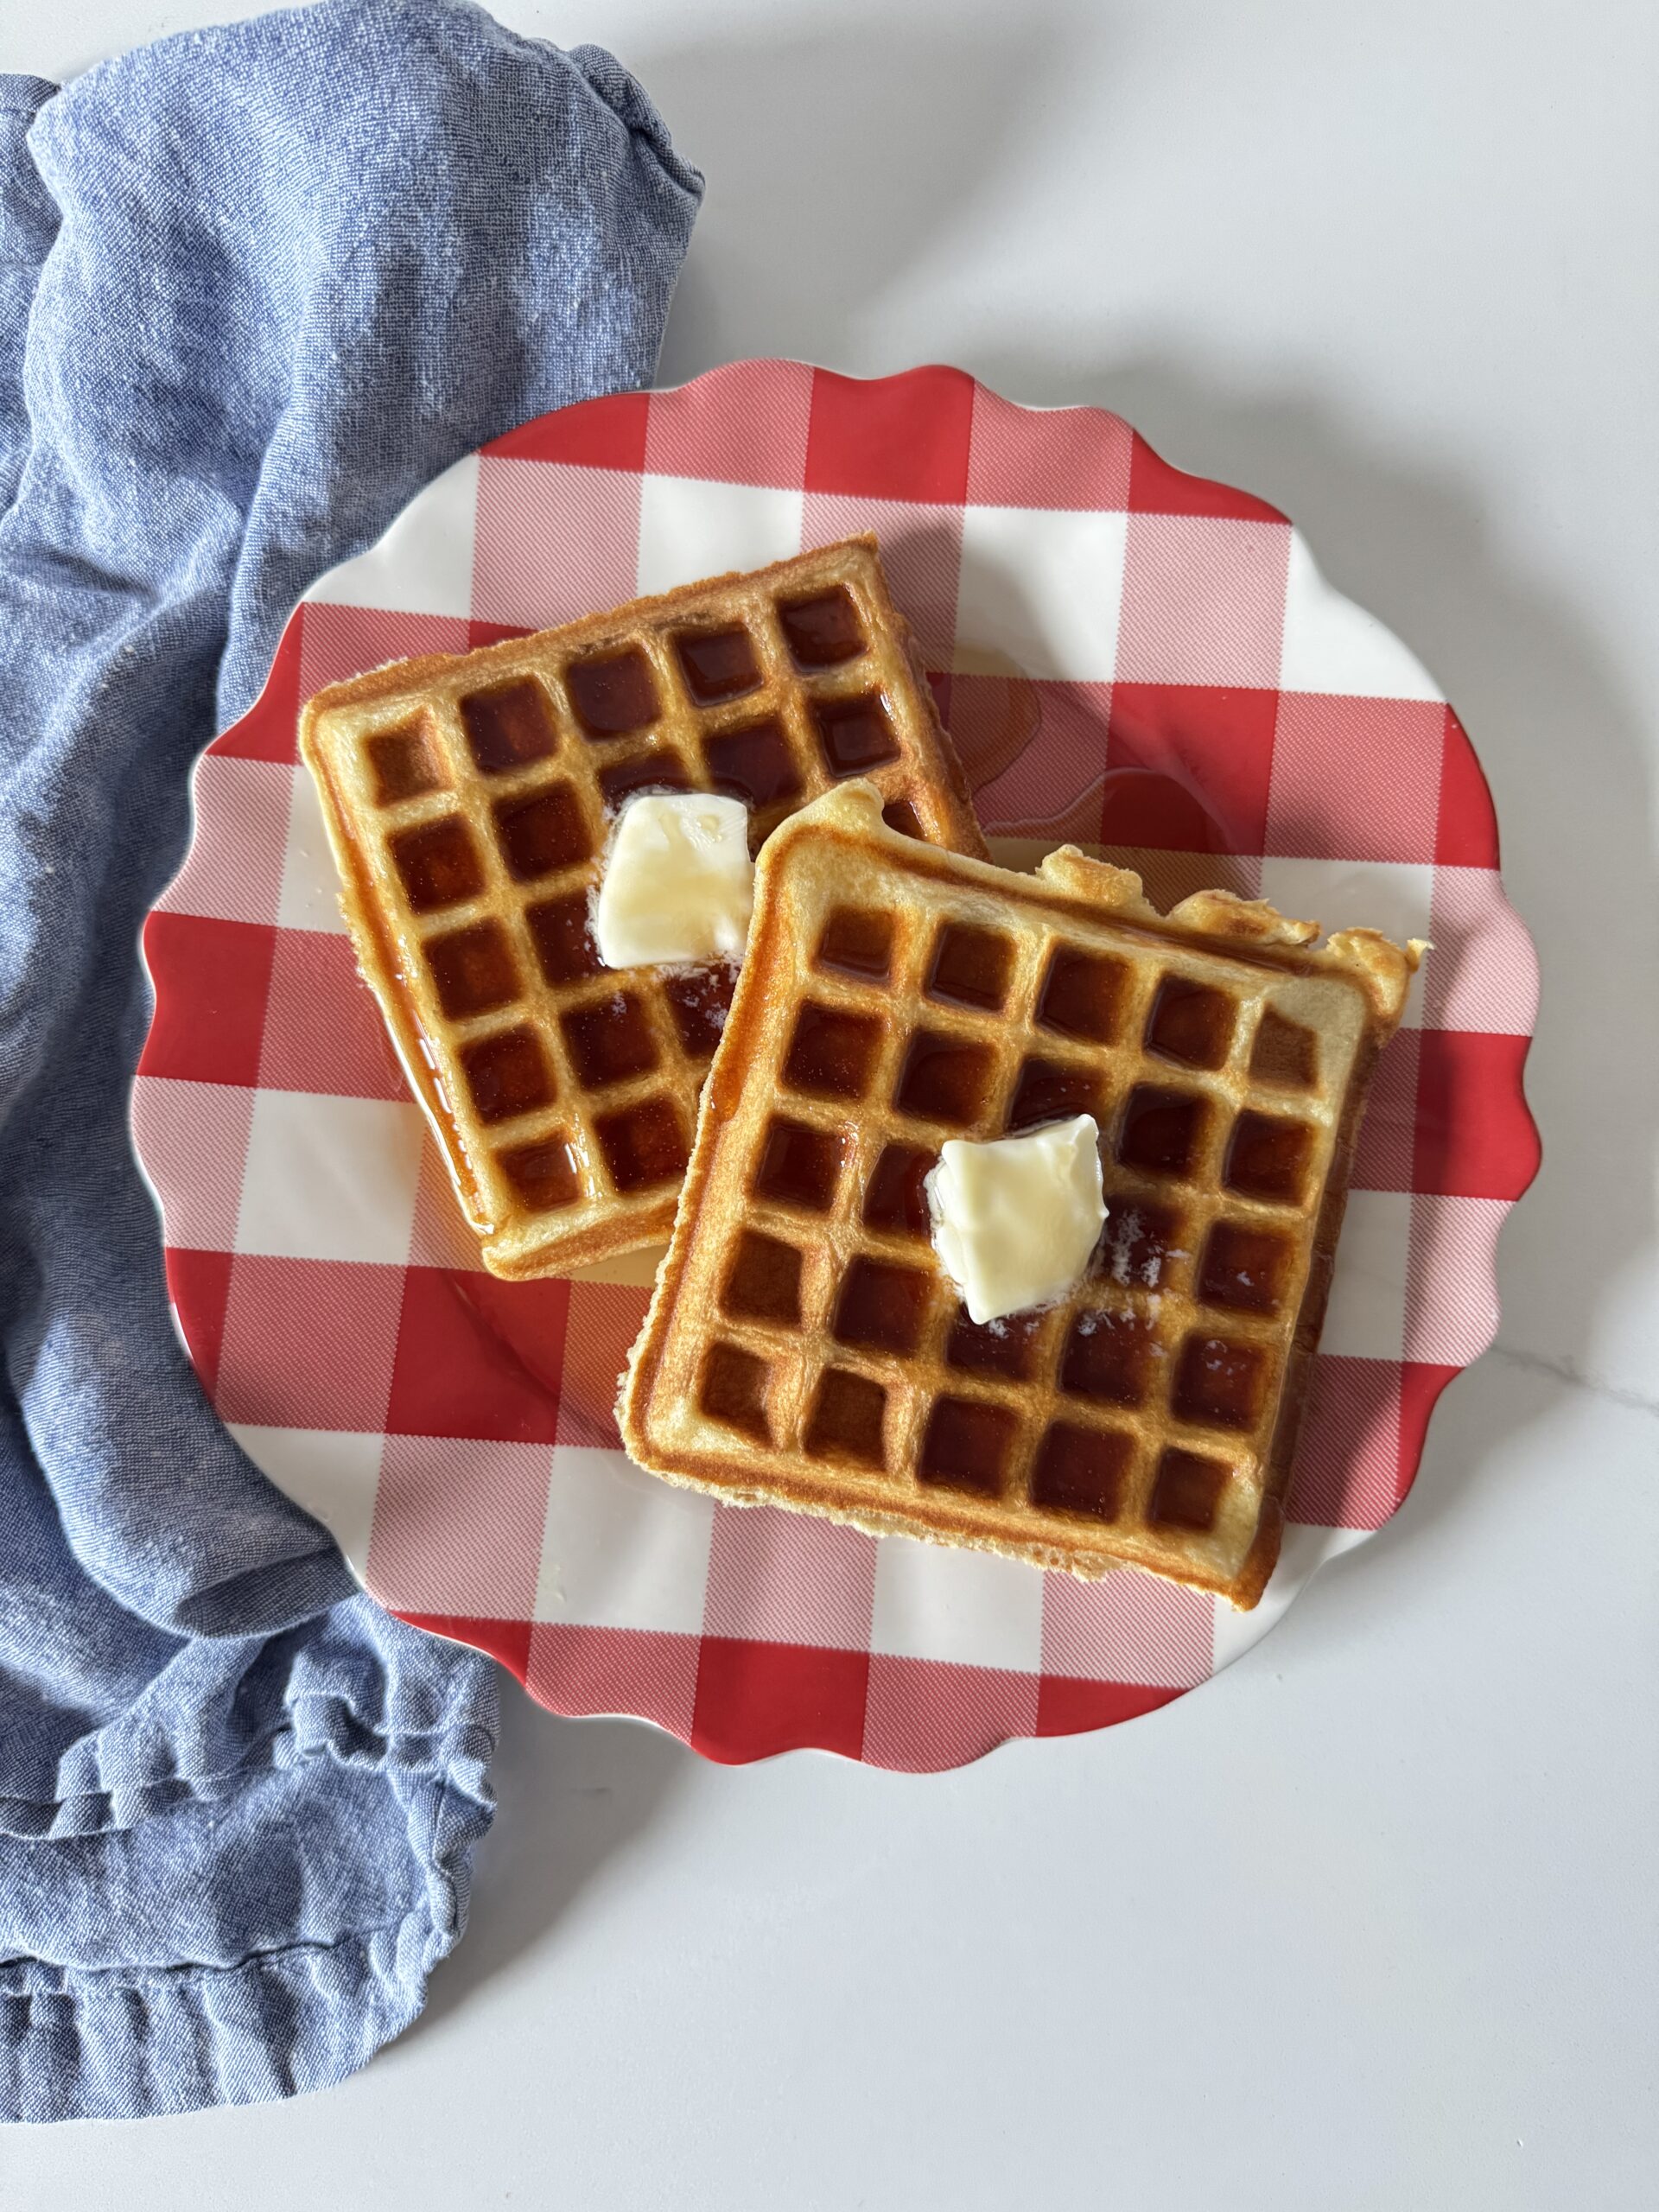
The Belgian Waffle’s American Makeover
Waffles have been around since the Middle Ages, but the fluffy, grid-patterned version we know today really took off in America during the 1964 World’s Fair in New York. A Belgian vendor introduced what he called “Belgian waffles,” which were thicker, lighter, and crispier than the thin, dense versions Americans were used to. The crowd went wild. Belgian waffle makers flew off shelves. Breakfast was forever changed.
Crispy buttermilk waffles, though, are a distinctly American riff. Buttermilk was a staple in American kitchens long before Greek yogurt showed up and tried to steal the spotlight. It was cheap, available, and gave baked goods a tangy lift that regular milk couldn’t touch. The waffle became the kind of breakfast you actually wanted to wake up for. These days, the best buttermilk waffles are the gold standard for a reason. They’re rich without being greasy, fluffy without being bland, and they crisp up beautifully in a hot waffle iron. They’re the benchmark every other waffle tries to beat.
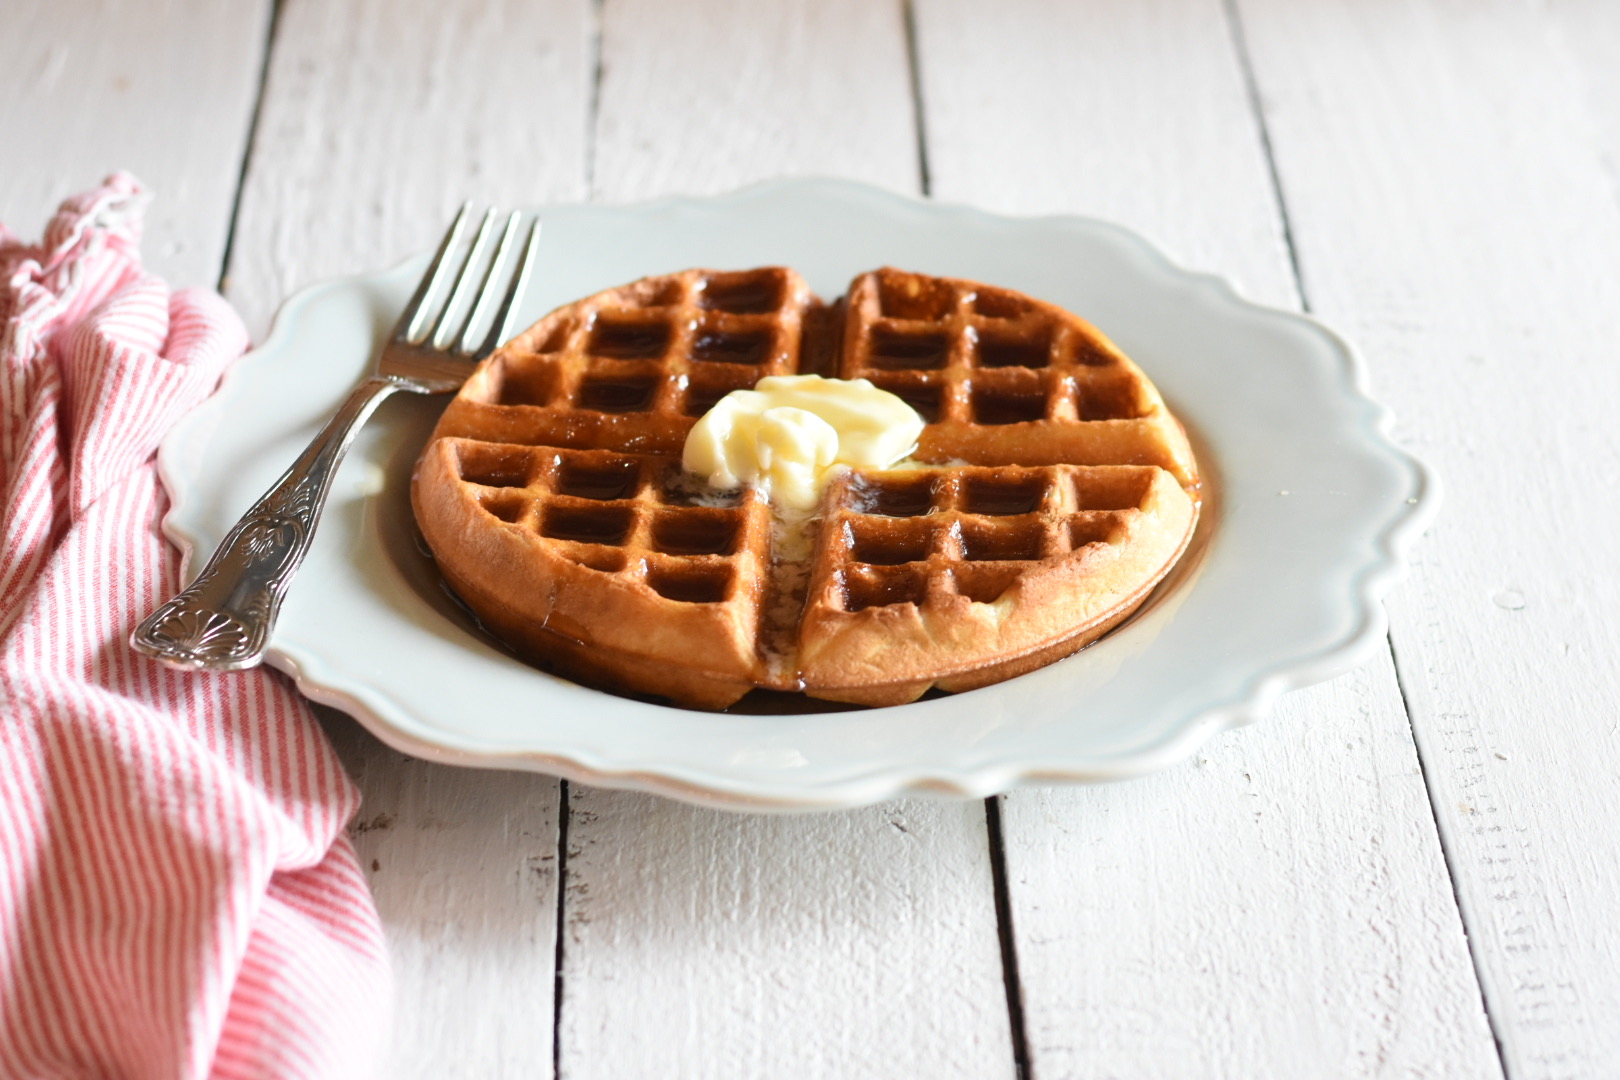
Why This Recipe Works
Most waffle recipes fail because they treat the waffle batter like buttermilk pancakes batter with delusions of grandeur.
Waffles need structure. They need air. They need fat in the right places and leavening that actually does something. This buttermilk waffle recipe nails the ratio of wet to dry ingredients so the batter is thick enough to hold its shape but loose enough to spread evenly across the iron. Too thick and you get doughy centers. Too thin and you get crepes with an identity crisis.
The real buttermilk and baking soda combo is non-negotiable. Buttermilk is acidic, and when it meets baking soda, it creates carbon dioxide bubbles that puff up the batter. Baking powder adds a second round of lift when the batter hits the heat. This double-leavening action is what gives you that airy, almost soufflé-like interior and a more tender texture.
Melted butter goes into the batter instead of oil because butter adds flavor and helps with browning. Oil makes waffles crispy, sure, but they taste like nothing. Butter makes them taste like butter, which is the whole point. Let it cool slightly before adding it so you don’t scramble the egg yolks, and you’re golden.
Equipment You’ll Need
You can’t make homemade buttermilk waffles without a waffle iron, obviously. A Belgian waffle maker with deep pockets is ideal because it gives you more surface area for crisping and more room for pure maple syrup to pool. If you only have a standard waffle iron, that’s fine. The cooked waffles will be thinner and crispier, which some people actually prefer. Just don’t use a pancake griddle and call it a day. That’s a pancake, not a waffle.
A whisk is essential for mixing the batter. You can use a hand mixer or a stand mixer if you want to make your life easier, but a whisk works if you’ve got decent arm strength and five minutes.
Two mixing bowls are necessary because you’ll be keeping the dry ingredients in a separate bowl from the wet ones until the last possible second. Overmixing is the enemy of fluffy buttermilk waffles, so the less you stir, the better. A large mixing bowl for the wet ingredients and a medium bowl for the dry is the move.
A rubber spatula is your best friend when stirring the batter. Metal spoons are too aggressive. You want to fold gently. If you don’t have a spatula, a wooden spoon works in a pinch, but be gentle.
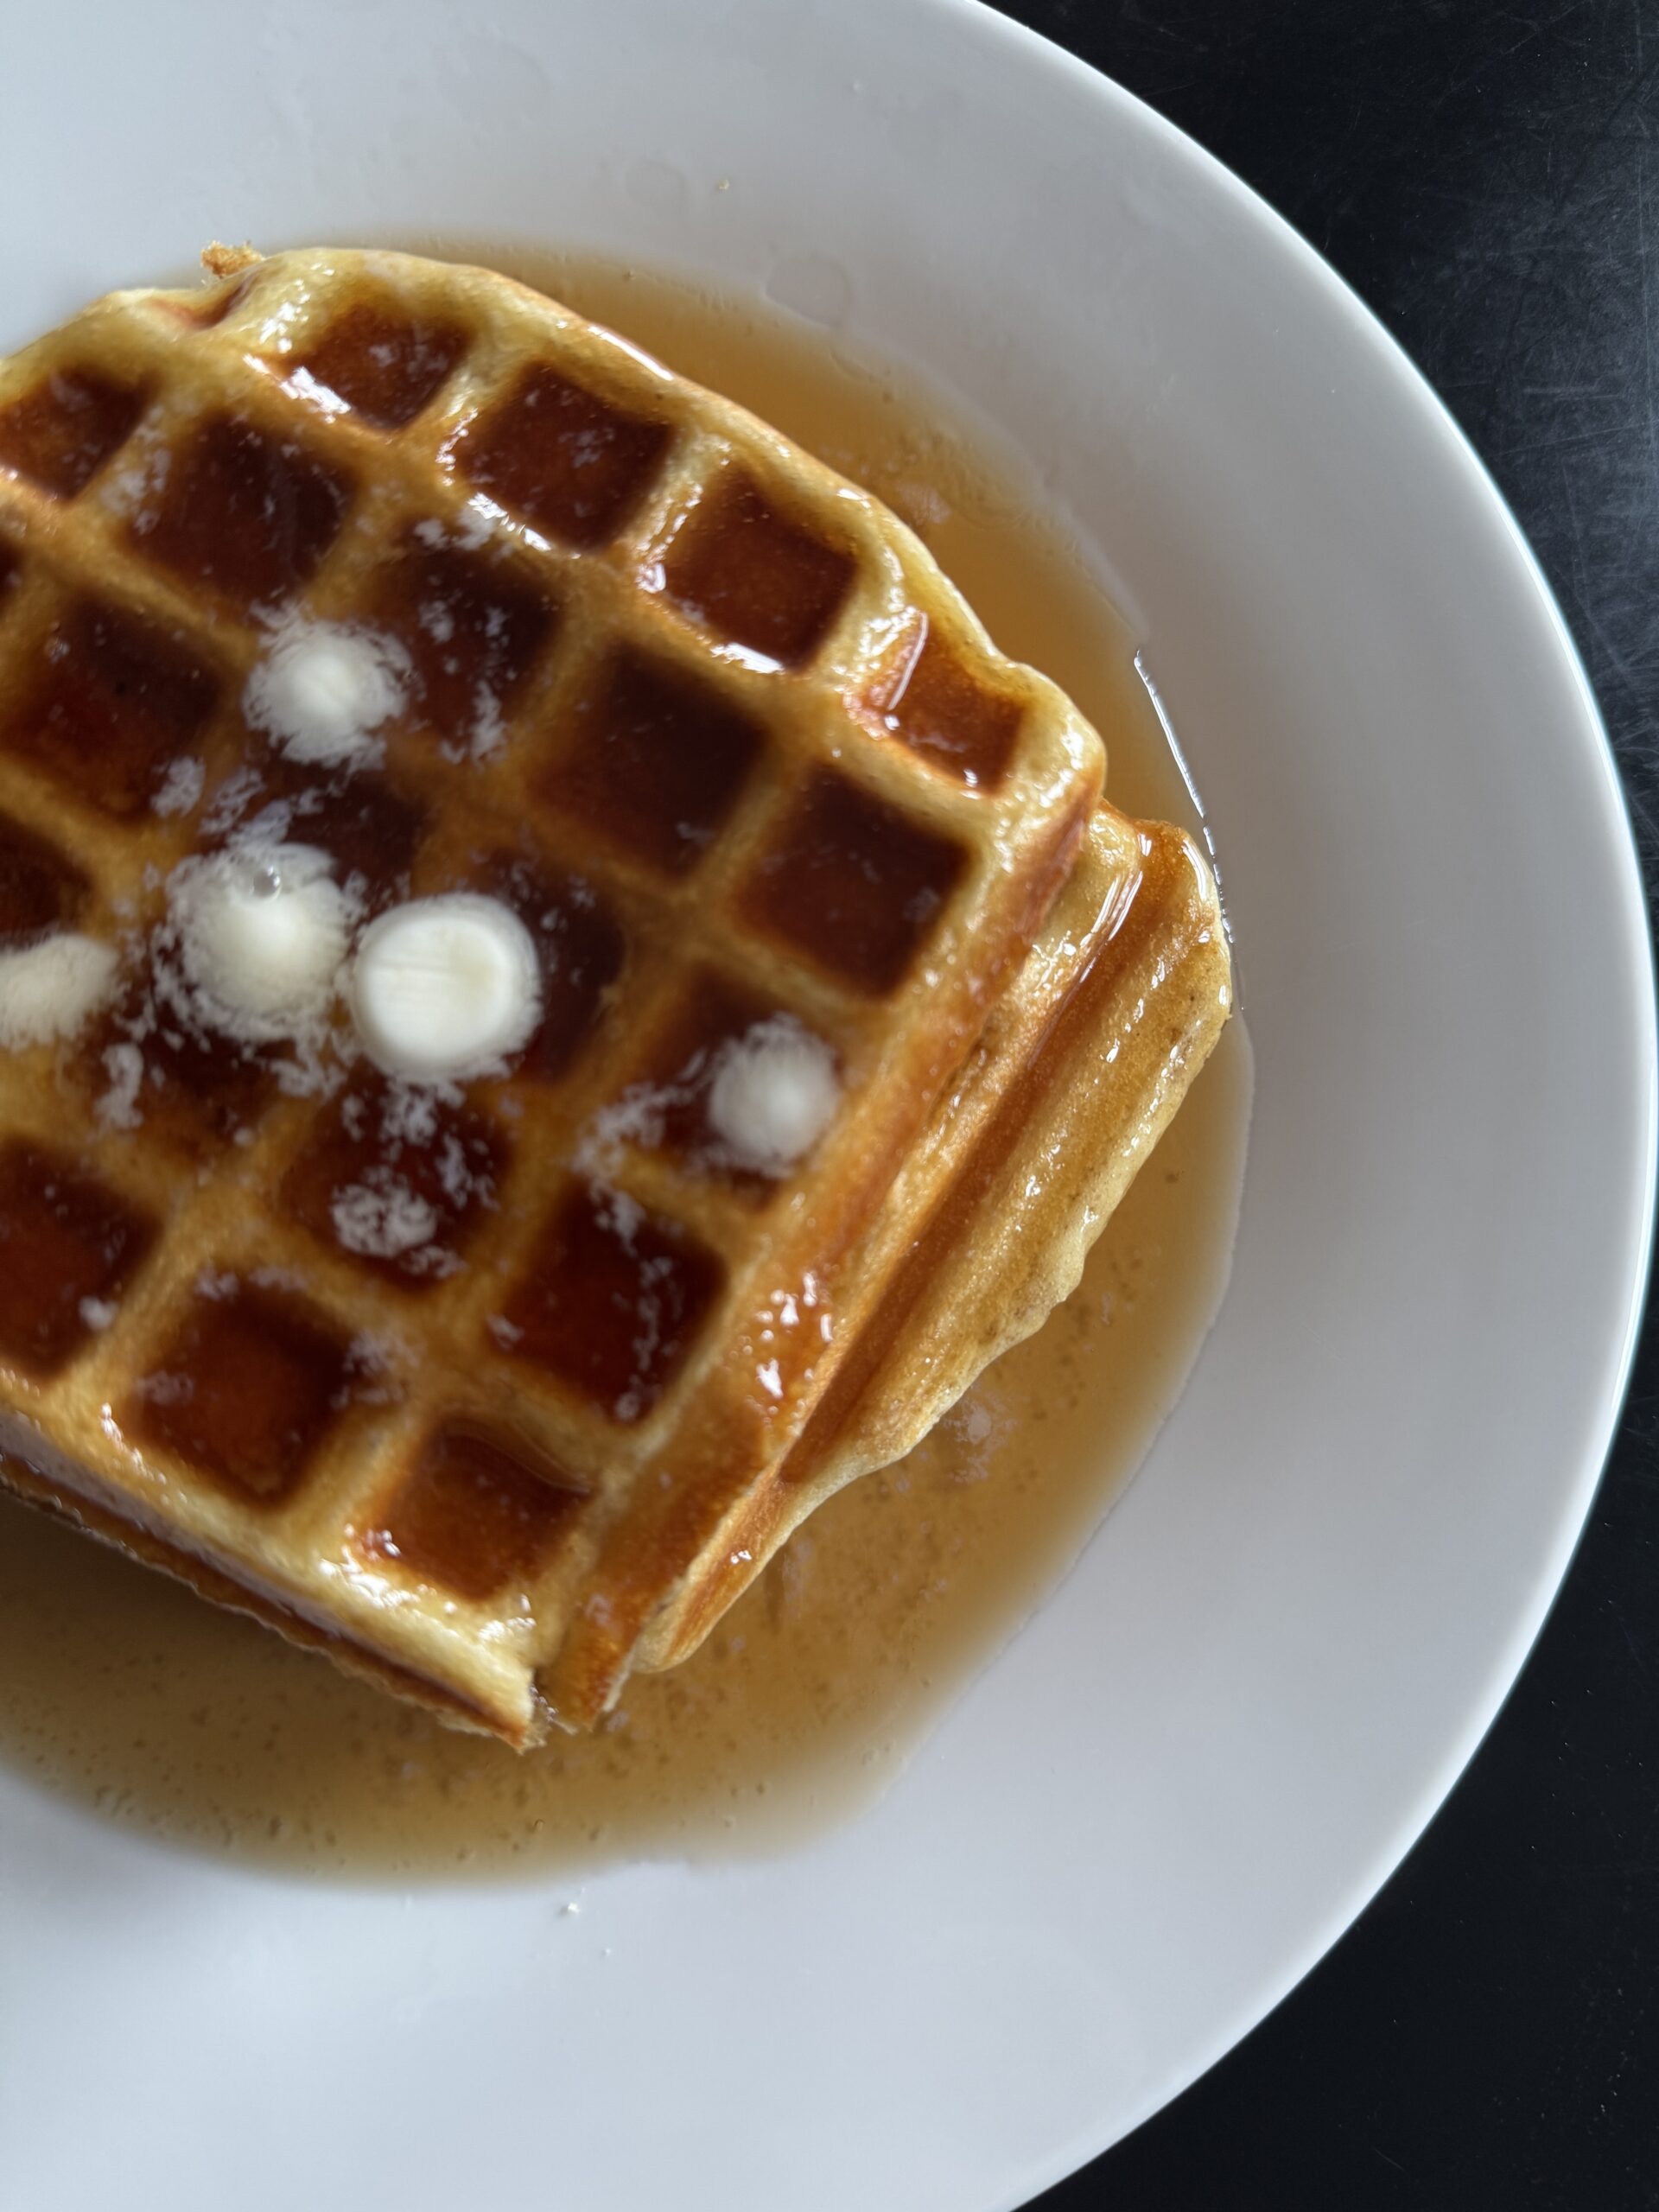
A ladle or measuring cup with a pour spout makes portioning the cup batter way easier. Most waffle irons need about three-quarters of a cup of batter per waffle, but check your manual to match the size of your waffle iron. Overfilling means batter overflow and a mess to clean. Underfilling means sad, thin waffles that don’t fill the grid. Measure once, eat better waffles. Otherwise you will get this sad waffle that was not quite filled!
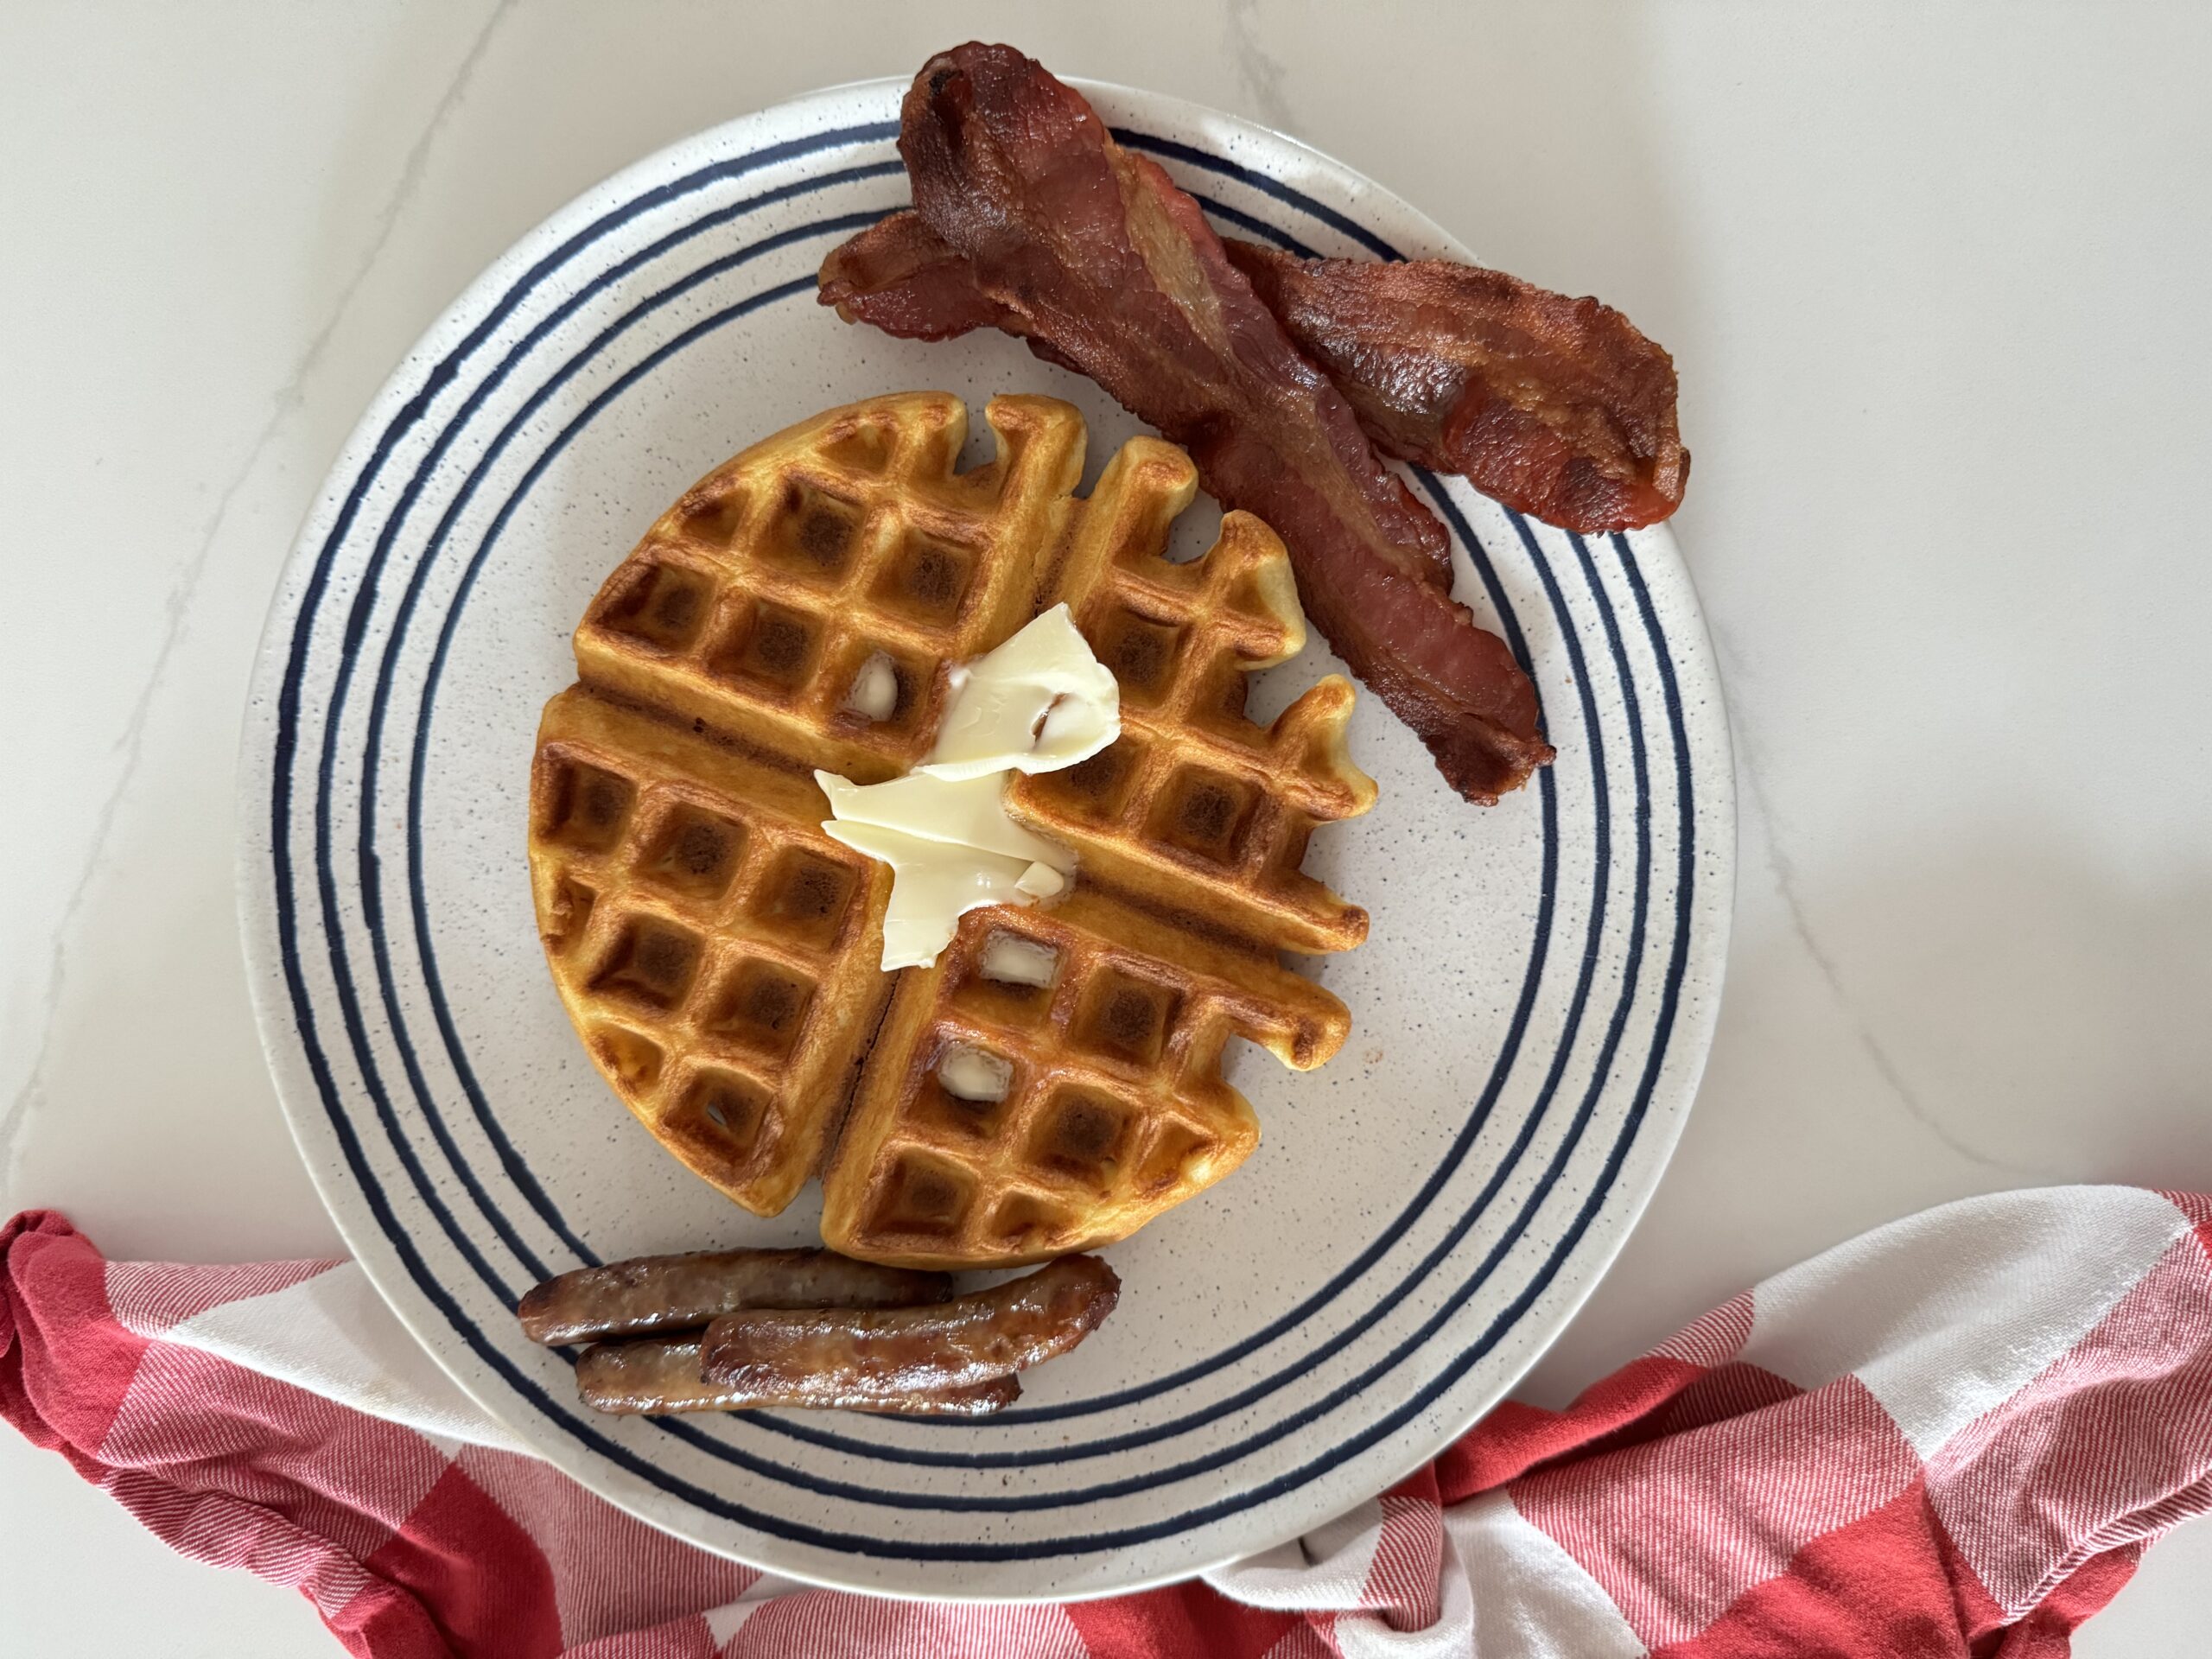
Ingredients & What They Do
Every ingredient in this easy recipe has a job, and if you skip one, the waffles suffer.
- 3 cups all-purpose flour – This is your structure. Cake flour makes waffles too soft and floppy. Bread flour makes them chewy and tough. All-purpose is the Goldilocks option. It gives you enough gluten to hold the waffle together without turning it into a hockey puck.
- 3 teaspoons baking powder – This is your primary leavening agent. It activates when it gets wet and again when it gets hot, giving you a double rise. Without it, your waffles will be flat and sad.
- 1 ½ teaspoons baking soda – This works with the buttermilk to create lift and tenderness. Baking soda also helps with browning, so your waffles get that golden, crispy exterior. Don’t skip it.
- ½ teaspoon salt – Salt makes everything taste better. It balances the sweetness, enhances the butter, and keeps the waffles from tasting bland. Use kosher or sea salt, not iodized table salt, which can taste metallic.
- 3 cups buttermilk – The star of the show. Buttermilk adds a slight tang, reacts with the baking soda for lift, and keeps the waffles tender. If you don’t have buttermilk, you can make a substitute by adding 2 tablespoons of lemon juice or white vinegar to whole milk and letting it sit for 5 minutes at room temperature. It’s not quite the same, but it works.
- 5 large eggs – The eggs add richness and fat. They provide structure and help bind everything together for that perfect texture. Make sure they’re at room temperature for the best results.
- 8 tablespoons melted butter, slightly cooled – Butter adds flavor and helps with crisping. Let it cool for a few minutes before adding it to the batter so you don’t cook the egg yolks. Salted or unsalted both work, but if you use salted, you might want to reduce the added salt slightly.
You can find buttermilk in the dairy section of any grocery store, usually near the regular milk. It comes in quarts and sometimes pints. If your store is out, look for powdered buttermilk in the baking aisle. It’s shelf-stable and works just as well. When buying eggs, go for large. Medium or extra-large will mess with the ratios, and your waffles will either be too wet or too dry.
Step-by-Step Instructions
Making these classic buttermilk waffles is simple, but the order matters.
- Whisk the eggs and buttermilk. In a large mixing bowl, whisk together the eggs and buttermilk until smooth and well combined. Make sure everything is evenly mixed.
- Whisk the dry ingredients. In a separate bowl, whisk together the flour, baking powder, baking soda, and salt. Whisk it together so everything is evenly distributed. This step prevents pockets of baking soda or salt from ending up in one bite.
- Combine wet and dry ingredients. Stir the egg and buttermilk mixture into the dry ingredients and mix until incorporated. The waffle batter should come together and be fairly smooth, but don’t overmix. A few small lumps are fine. Overmixing develops gluten, which makes the waffles tough and chewy instead of light and tender.
- Stir in the melted butter. Add the melted butter to the batter and mix thoroughly until the butter is completely incorporated throughout. Make sure the butter is cool enough that it doesn’t cook the egg yolks.
- Let the batter rest. Allow the waffle batter to rest for 15 minutes. This resting time lets the flour completely absorb the liquid, which helps create a better texture in the cooked waffles.
- Preheat your waffle iron. While the batter is resting, turn on your waffle iron to medium-high heat and let it warm up. A properly preheated iron is the best way to get crispy waffles instead of pale, floppy ones. Most irons have an indicator light that tells you when they’re ready. If yours doesn’t, give it at least 5 minutes.
- Cook the waffles. Spray the waffle iron with non-stick cooking spray or brush with a little oil. Pour the appropriate amount of cup batter into the center of the iron according to your manufacturer’s instructions, close the lid, and cook until the waffle is golden brown and crispy. This usually takes 3 to 5 minutes, depending on your iron. Don’t open the lid too early or the waffle will tear and stick.
- Repeat with remaining batter. Keep the finished waffles warm in a 200-degree oven on a wire rack while you cook the rest. Don’t stack them or they’ll steam and lose their crispness. A wire rack lets air circulate and keeps them crunchy.
If your first waffle sticks or doesn’t brown evenly, don’t panic. The first one is always a test run. Adjust the heat or the amount of batter and keep going. By the second waffle, you’ll have it dialed in.
How to Know It’s Done
Your waffle iron will tell you when it’s done, but don’t just rely on the light.
Open the lid and look. The waffle should be deep golden brown, not pale yellow. If it’s still light, close the lid and give it another 30 seconds. The edges should be crispy and slightly darker than the center. If you see steam pouring out of the iron, the waffle isn’t done yet. Steam means there’s still moisture escaping, and moisture means soggy waffles.
Press gently on the top of the waffle with a fork or spatula. It should feel firm and crisp, not soft or squishy. If it gives too much, it needs more time. A properly cooked waffle will release easily from the iron with a gentle lift. If it sticks, it’s either underdone or your iron wasn’t greased enough.
The smell is another clue. You should smell butter and sugar caramelizing, with a faint toasty aroma. If you smell burning, you’ve gone too far. Pull the waffle, adjust the heat down slightly, and keep going. The best waffles have a deep, nutty fragrance that makes you want to eat them immediately.
Pairing Suggestions
These homestyle waffles are rich and buttery, so they can handle bold pairings.
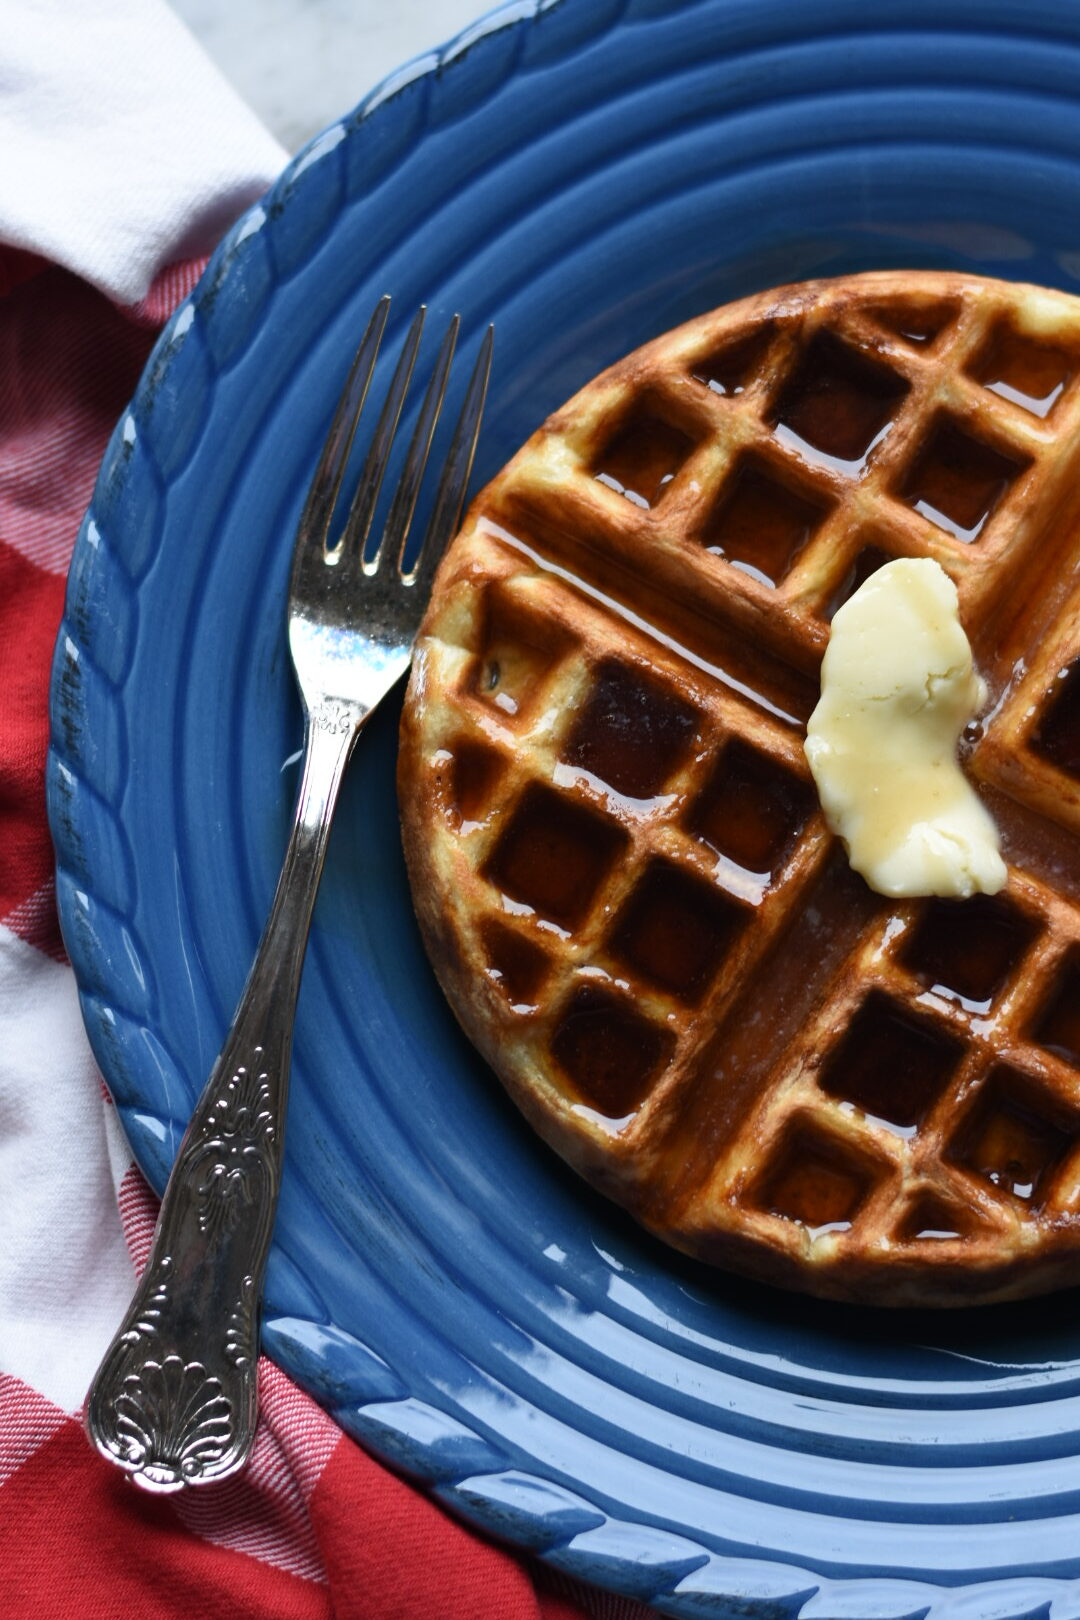
Classic pure maple syrup is always a winner, but go for the real stuff, not pancake syrup. The difference is night and day. Real maple syrup has depth and complexity. The fake stuff tastes like sugar water with delusions of grandeur. Warm it slightly before pouring so it doesn’t cool down your waffles.
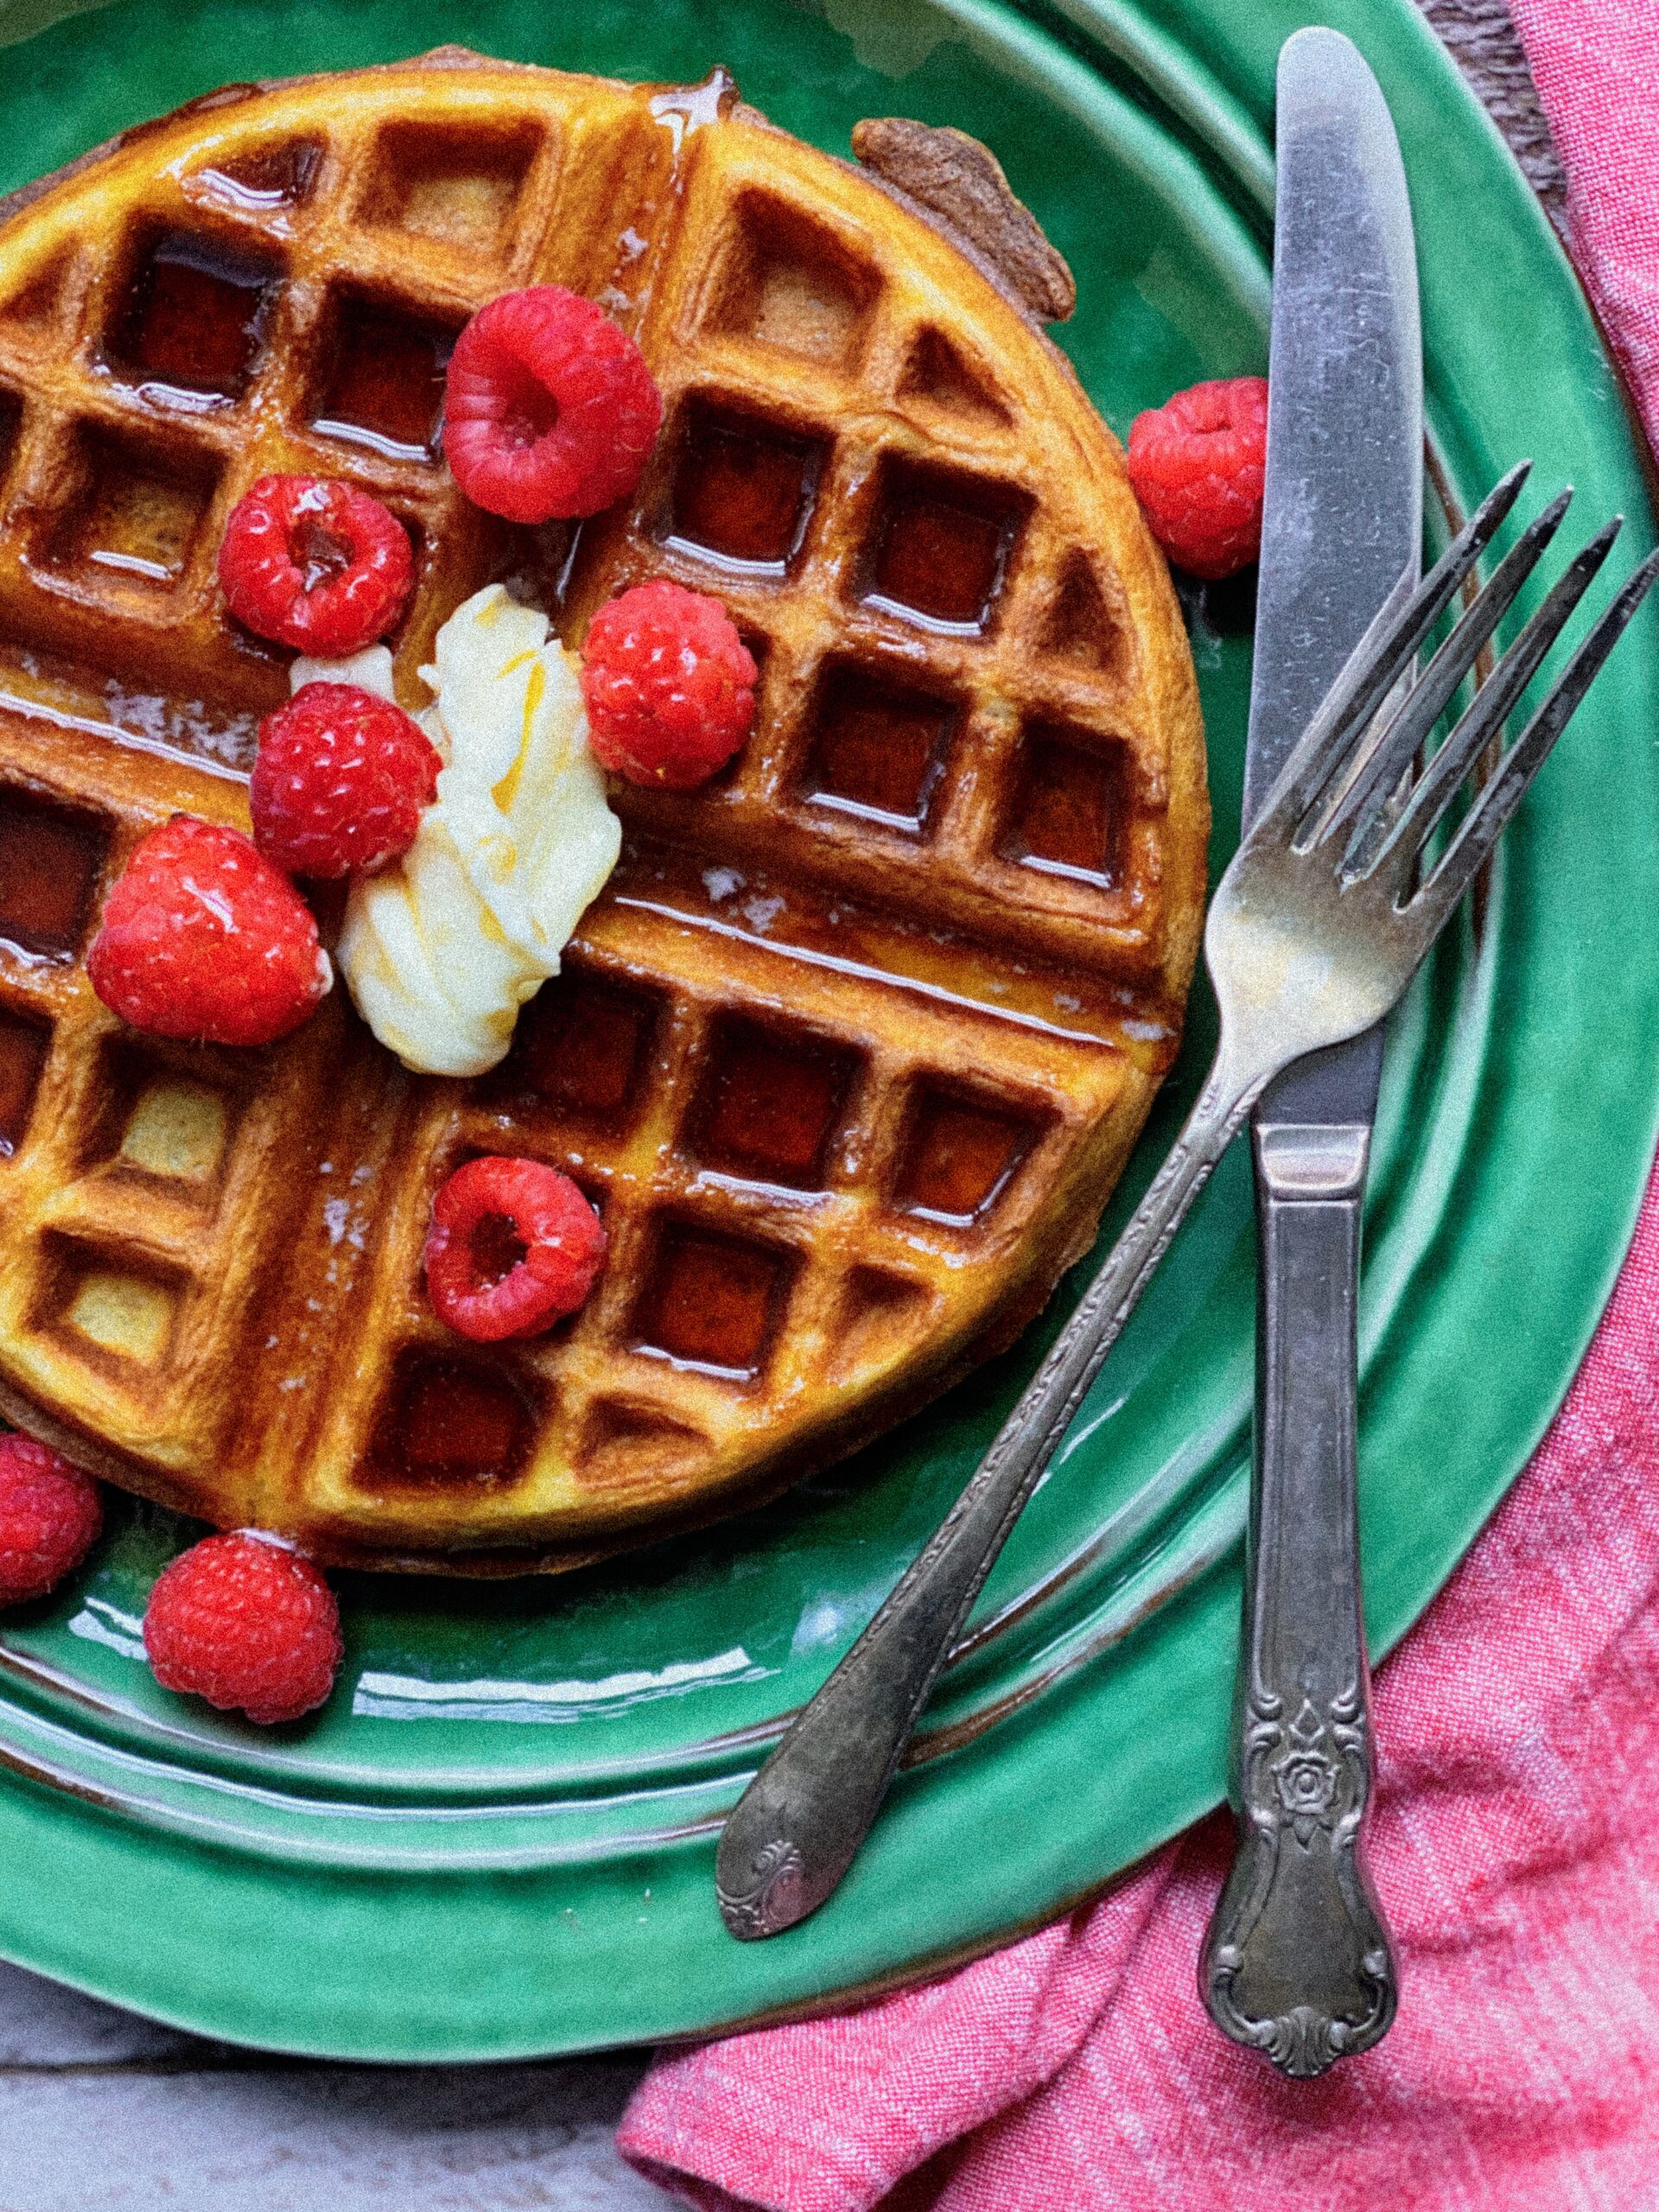
Fresh fruit and whipped cream turn this into a legitimately impressive brunch situation. Macerated strawberries, blueberries, or raspberries add brightness and cut through the richness. Toss them with a spoonful of sugar and let them sit for 10 minutes so they release their juices. Pile them on top with a cloud of lightly sweetened whipped cream, and you’ve got a dish people will post about. This combination is one of the best things you can do to elevate these homemade waffles for Mother’s Day or National Waffle Day.
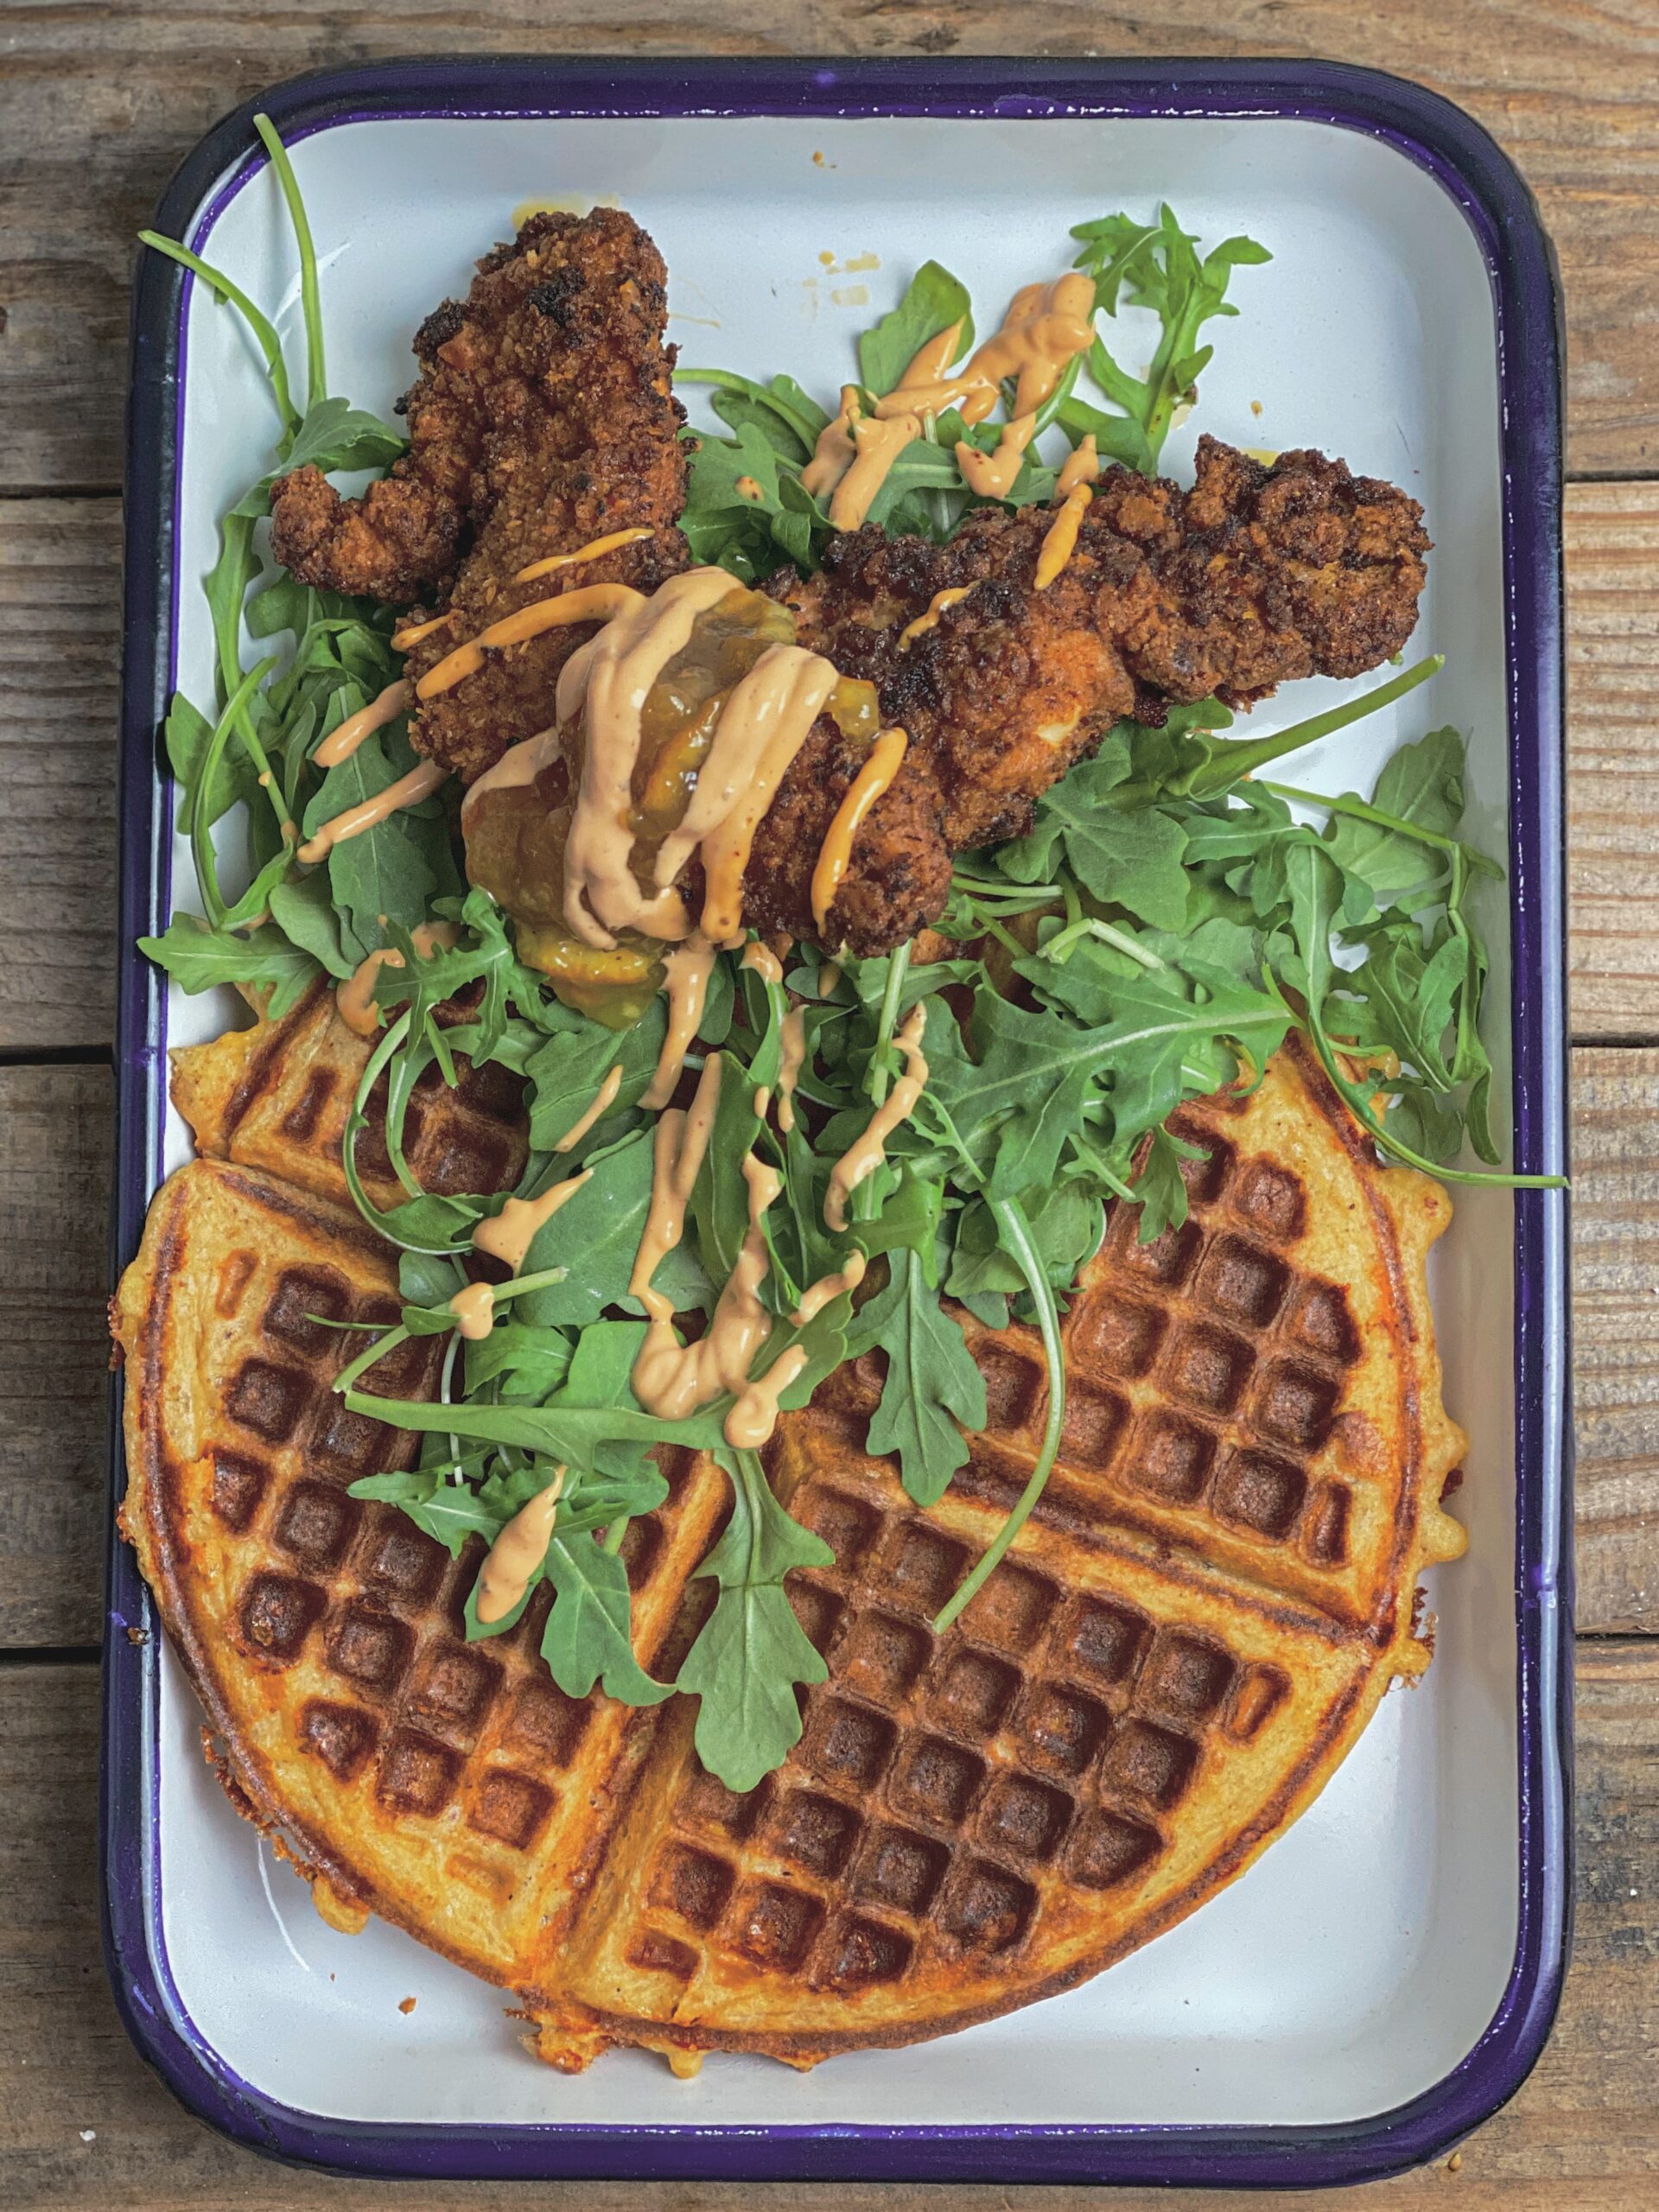
If you want to go savory, fried chicken and waffles is the move. The salty, crispy chicken against the sweet, fluffy waffle is one of the great food pairings of all time. Drizzle with hot honey or pure maple syrup spiked with hot sauce, and you’ve got a meal that’ll ruin you for regular breakfast. Savory waffles like these are a special treat the whole family will love.
For drinks, a strong cup of coffee is classic, but a mimosa or a Bellini works if you’re feeling celebratory. If you’re feeding kids or skipping the booze, fresh orange juice or a fruit smoothie balances the richness without overwhelming the waffles.
These waffles are versatile enough to work with almost any of your favorite toppings, so go wild.
Variations & Swaps
Once you’ve nailed the basic recipe, you can riff on it endlessly.
Whole wheat buttermilk waffles: Swap half the all-purpose flour for whole wheat flour. The waffles will be denser and nuttier, with a heartier texture. Add an extra tablespoon of sugar to balance the bitterness of the whole wheat.
Chocolate chip waffles: Fold 1/2 cup of mini chocolate chips into the waffle batter just before cooking. The chips melt slightly and create pockets of melted chocolate. Use mini chips, not regular-sized ones, or they’ll sink to the bottom.
Blueberry waffles: Gently fold 1 cup of fresh or frozen blueberries into the batter after you’ve mixed everything. Frozen berries work better because they don’t burst as easily. If you use fresh fruit, toss them in a little flour first to keep them from bleeding into the batter.
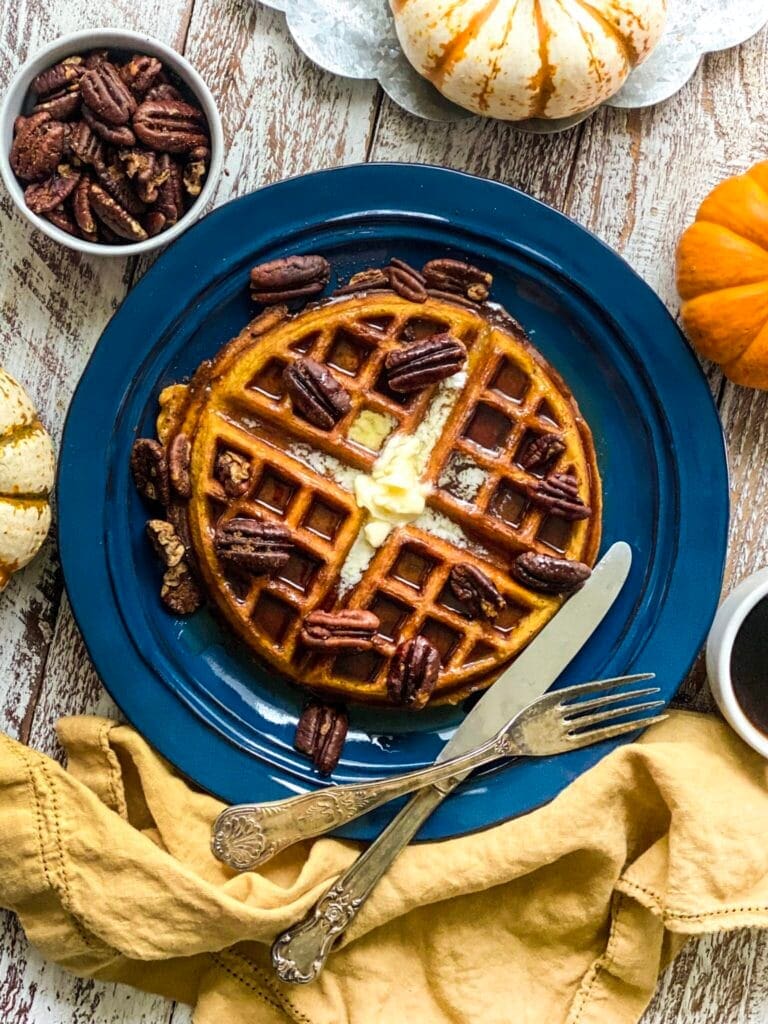
Pumpkin spice waffles: Add 1/2 cup pumpkin puree and 1 teaspoon pumpkin pie spice to the wet ingredients for a fall-inspired version that’s perfect for cooler mornings.
Gingerbread waffles: Mix in 2 teaspoons ground ginger, 1 teaspoon cinnamon, and 2 tablespoons molasses to the batter for a warming holiday variation.
Cinnamon waffles: Add 1 teaspoon of ground cinnamon to the dry ingredients. It adds warmth and makes the waffles smell incredible. You can also add a pinch of nutmeg or cardamom for a more complex flavor.
Buttermilk substitute: If you don’t have buttermilk, use the lemon juice trick mentioned earlier, or swap in plain Greek yogurt thinned with a little whole milk. The texture will be slightly different, but the slight tang will still be there.
No matter which direction you go, this true recipe is solid enough to handle it. While you could use a pancake mix as a base, these from-scratch waffles deliver superior results.
Storage Tips
Waffles are best eaten fresh, but you can store leftovers and they’ll still be good—this is a great tip for making a big batch.
Let the cooked waffles cool completely on a wire rack before storing them. If you stack them while they’re still warm, they’ll steam and turn soggy. Once they’re cool, layer them between sheets of parchment paper or plastic wrap and store them in an airtight container or freezer bags. They’ll keep in the fridge for up to 3 days.
For longer storage, freeze them. Lay the cooled waffles in a single layer on a baking sheet and freeze until solid, about 1 hour. Then transfer them to freezer bags, pressing out as much air as possible. They’ll keep for up to 3 months. Freezing them individually first prevents them from sticking together in one giant waffle brick.
To reheat, pop them in the toaster or toaster oven straight from the fridge or freezer. The toaster crisps them back up and makes them taste freshly made. If you use the microwave, they’ll be soft and limp, which defeats the whole purpose. A 200-degree oven works too if you’re reheating a bunch at once. Just put them on a wire rack and heat for 5 to 10 minutes.
Leftover Transformations
If you somehow have leftover waffles and you’re tired of reheating them, get creative.
Waffle sandwiches: Use two waffles as the bread for a breakfast sandwich. Fill with scrambled eggs, bacon, and cheese waffles, or go sweet with peanut butter, banana, and honey. Press it in a panini press if you have one, or just eat it as is.
Waffle bread pudding: Cube the waffles and use them in place of bread in your favorite bread pudding recipe from the recipe card. The waffle’s texture soaks up custard beautifully, and the little grid pockets hold onto pockets of sweetness.
Waffle croutons: Cut leftover waffles into cubes, toss with melted butter or a pat of butter and cinnamon sugar, and bake at 350 degrees until crispy. Use them to top ice cream, yogurt, or even a salad if you’re feeling adventurous.
Waffle nachos: Cut waffles into triangles, arrange on a baking sheet, and top with shredded cheese, jalapeños, and whatever else you’d put on nachos. Bake until the cheese melts. It’s weird, but it works.
Leftover waffles are a gift, not a burden. Treat them accordingly. They’re truly one of the best things about making a big batch.
Making fluffy buttermilk waffles from scratch isn’t hard, and once you taste the difference, boxed mix will feel like a betrayal. The crispy edges, the fluffy interior, the way a pat of butter and syrup pool in those little pockets is worth every second of whisking and folding.
This classic buttermilk waffles recipe works because it respects the science of breakfast recipes. It gives you structure, lift, and flavor in exactly the right proportions using simple ingredients. Make it once, and it’ll become a family favorite—the only waffle recipe you ever need.
Equipment
- 2 mixing bowls
- Pyrex measuring cup with a spout
- Whisk
- Waffle Iron
- measuring cup
Ingredients
Wet Ingredients
- 8 tbsp Unsalted butter Melted and slightly cooled
- 5 large Eggs Room temperature
- 3 cups Buttermilk Room temperature preferred
Dry Ingredients
- 3 cups All-purpose flour
- 3 tsp Baking powder
- 1 ½ tsp Baking soda
- ½ tsp Kosher or sea salt
Instructions
Mix the Wet Base
- Melt the butter in a heat proof pyrex measuring cup. Set aside to cool while preparing the wet base and dry base.8 tbsp Unsalted butter
- In a large mixing bowl, whisk together the eggs and buttermilk until the mixture is smooth and the eggs are fully incorporated.5 large Eggs, 3 cups Buttermilk
Blend Dry Ingredients
- In a separate medium bowl, whisk the flour, baking powder, baking soda, and salt. Ensure there are no clumps so the leavening agents are evenly distributed.3 cups All-purpose flour, 3 tsp Baking powder, 1 ½ tsp Baking soda, ½ tsp Kosher or sea salt
Combine
- Gently stir the wet mixture into the dry ingredients. Mix until just incorporated.
- Pro Tip: Don't overmix! A few small lumps are perfectly fine; overworking the batter leads to tough, chewy waffles.
Incorporate Butter
- Slowly pour in the melted butter. Stir thoroughly until the butter is fully blended into the batter and no oily streaks remain.8 tbsp Unsalted butter
The Rest Period
- Let the batter sit for 15 minutes. This allows the flour to hydrate and the buttermilk to react with the leavening agents for a lighter texture.
Preheat & Prep
- While the batter rests, preheat your waffle iron to medium-high. If your oven has a "warm" setting (200°F), preheat it now and place a wire rack inside to keep finished waffles crispy.
Cook the Waffles
- Lightly coat the iron with non-stick spray or oil. Pour the batter into the center (refer to your iron’s capacity-and use a measuring cup) and close the lid. Cook for 3–5 minutes until golden brown. Avoid opening the lid early to prevent tearing!
Serve and Stay Warm
- Transfer finished waffles to the wire rack in the warm oven. Avoid stacking them, as the steam will make the exteriors soft.
Notes
Nutrition
More Waffle Recipes to Try!
Easy Pumpkin Pecan Waffles Recipe: A Brunch Favorite
Cheese & Chive Waffles with Eggs and Bacon

Leave a Reply